All Episodes
Displaying 21 - 40 of 261 in total
Cambrai: Episode 19 — Into Bourlon Wood
Once the battle turned toward Bourlon Ridge, the character of Cambrai changed dramatically. This episode focuses on the fighting in and around Bourlon Wood, where the ...
Cambrai: Episode 20 — Fontaine and Bourlon Village
Fontaine-notre-Dame and Bourlon Village became two of the most important and most costly local battlefields of the entire Cambrai campaign. This episode explains why t...
Cambrai: Episode 21 — The Salient
After the dramatic opening gains at Cambrai, the British Army found itself holding something that looked powerful on the map but dangerous in practice: a salient pushe...
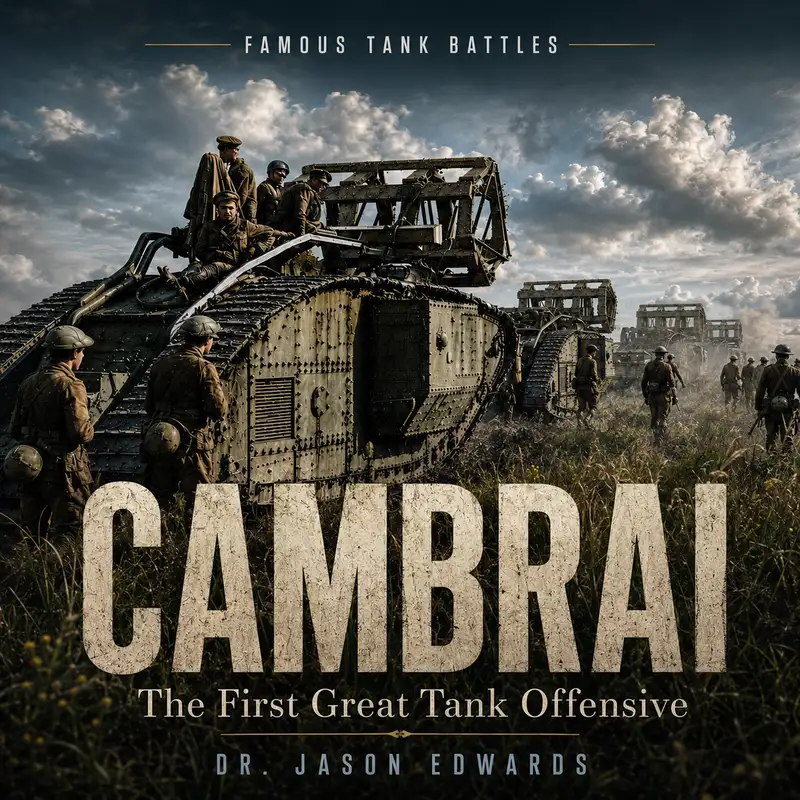
Cambrai: Episode 22 — The German Answer
The British breakthrough at Cambrai did not leave the Germans passive or helpless. This episode examines how German commanders recovered from the shock of 20 November ...
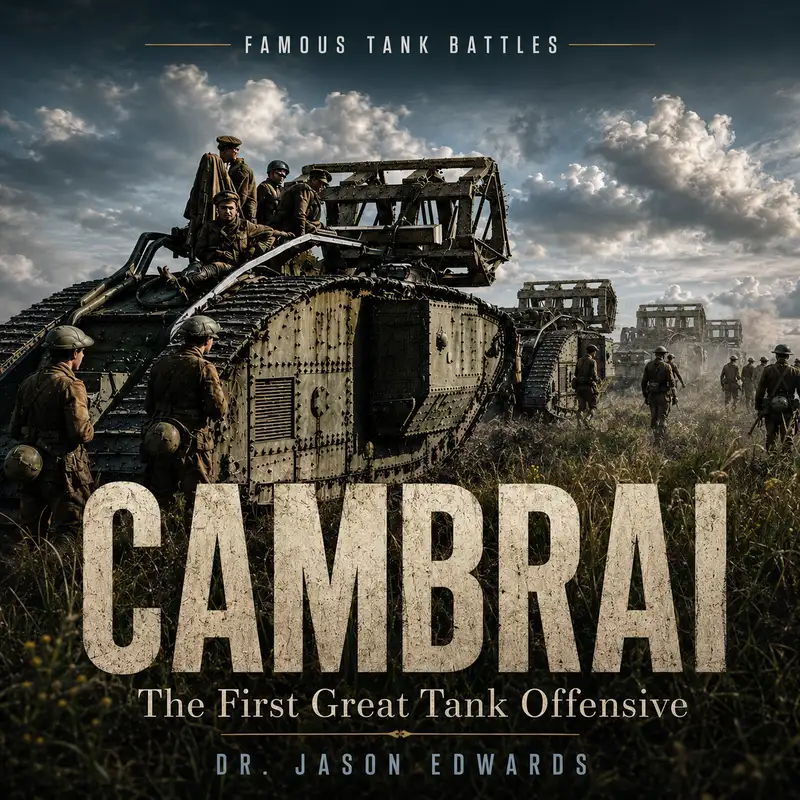
Cambrai: Episode 23 — 30 November: The Counterattack
The German counterattack on 30 November 1917 was one of the most dangerous moments of the entire Cambrai campaign. This episode follows the sudden blow that hit the Br...
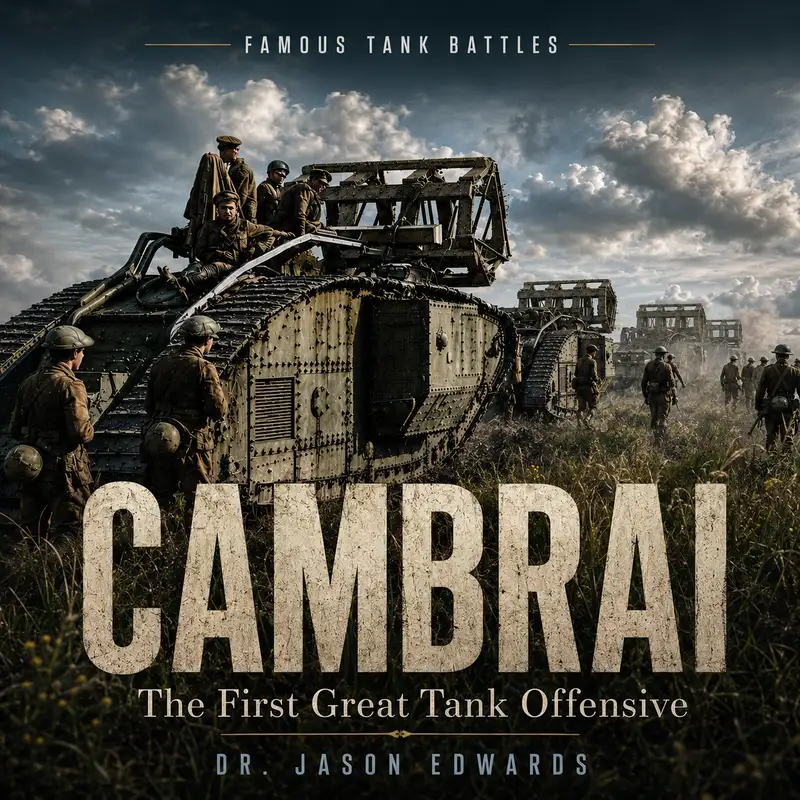
Cambrai: Episode 24 — Draw, Legend, and the Future of Armor
Cambrai ended without the decisive strategic victory the British had hoped for, but it still became one of the most influential battles in the history of armored warfa...
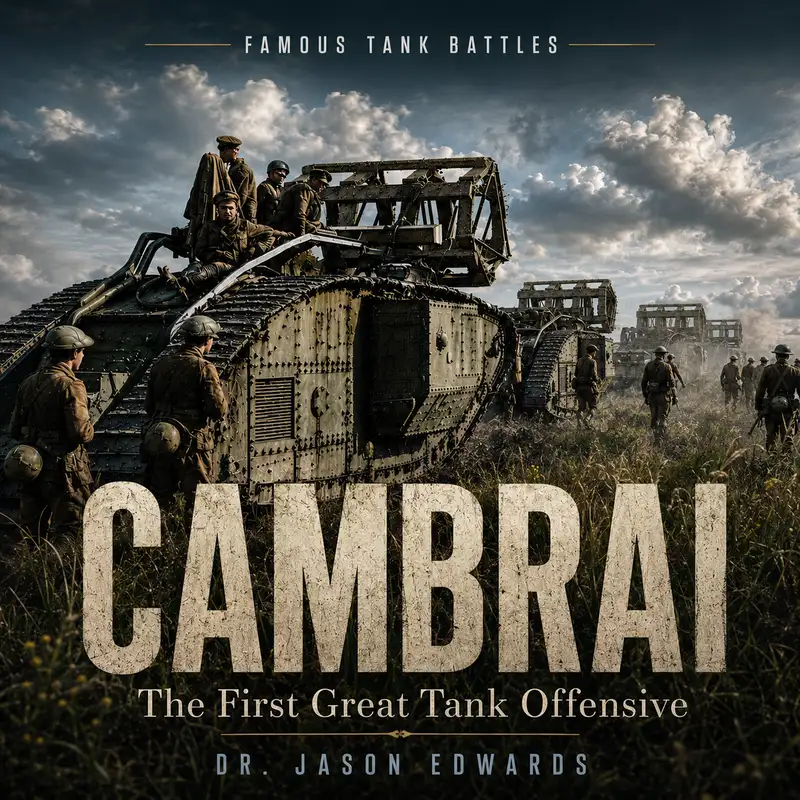
Welcome to Operation Crusader / Sidi Rezegh - Season 2
Season 2 of Famous Tank Battles enters the dust, confusion, and violence of the Western Desert in November 1941, when British and Commonwealth forces launched Operatio...
Crusader: Episode 14 — 7th Armoured Brigade in the Furnace
Seventh Armoured Brigade in the Furnace follows one of the desert war’s most experienced British armored formations through the exhausting heart of Operation Crusader....
Crusader: Episode 25 — 5–7 December: Contact Regained
5–7 December: Contact Regained follows the battered British and Commonwealth effort to reopen and sustain the link with Tobruk after earlier contact had been lost. The...
Crusader: Episode 1 — After Battleaxe
After Battleaxe begins Season 2 by looking at the failed British efforts to relieve Tobruk before Operation Crusader. The episode explains why Brevity and Battleaxe le...
Crusader: Episode 26 — A Limited Victory
A Limited Victory steps back from the battlefield and judges what Operation Crusader actually achieved. Tobruk was relieved, Rommel was forced to withdraw, and British...
Crusader: Episode 6 — The Plan Called Crusader
The Plan Called Crusader lays out the British and Commonwealth offensive in clear terms: what Eighth Army hoped to achieve, how Thirteenth Corps and Thirtieth Corps we...
Crusader: Episode 22 — Belhamed and Point 175
Belhamed and Point 175 explains how ridges, escarpments, and numbered terrain features shaped the battle around Tobruk and Sidi Rezegh. In the open desert, even modest...
Crusader: Episode 23 — 27 November: Contact
27 November: Contact delivers the emotional high point of Operation Crusader, when the Tobruk garrison and the relieving force finally made contact after months of sie...
Crusader: Episode 20 — The New Zealanders Come West
The New Zealanders Come West introduces the Second New Zealand Division as a fresh, disciplined force entering a battle already battered by armored loss and command cr...
Crusader: Episode 21 — Ed Duda
Ed Duda focuses on a small but critical piece of ground near the Tobruk corridor, where the relief force and the garrison’s breakout effort came close to joining. The ...
Crusader: Episode 3 — Rommel, Auchinleck, Cunningham
Rommel, Auchinleck, Cunningham introduces the commanders whose decisions shaped Operation Crusader. Erwin Rommel brought aggression, speed, and tactical instinct to th...
Crusader: Episode 2 — Why Tobruk Had to Be Saved
This episode explains why Tobruk became one of the most important places in the North African campaign. The besieged port mattered as a supply point, a symbol of resis...
Crusader: Episode 7 — The Frontier Boxes
The Frontier Boxes focuses on the fortified Axis positions near the Libyan-Egyptian border and explains why static defenses mattered in a campaign remembered for mobil...
Crusader: Episode 4 — The Desert Chessboard
The Desert Chessboard explains the battlefield itself: Tobruk, the frontier, the escarpments, desert tracks, supply routes, ridges, and the deadly open spaces between ...